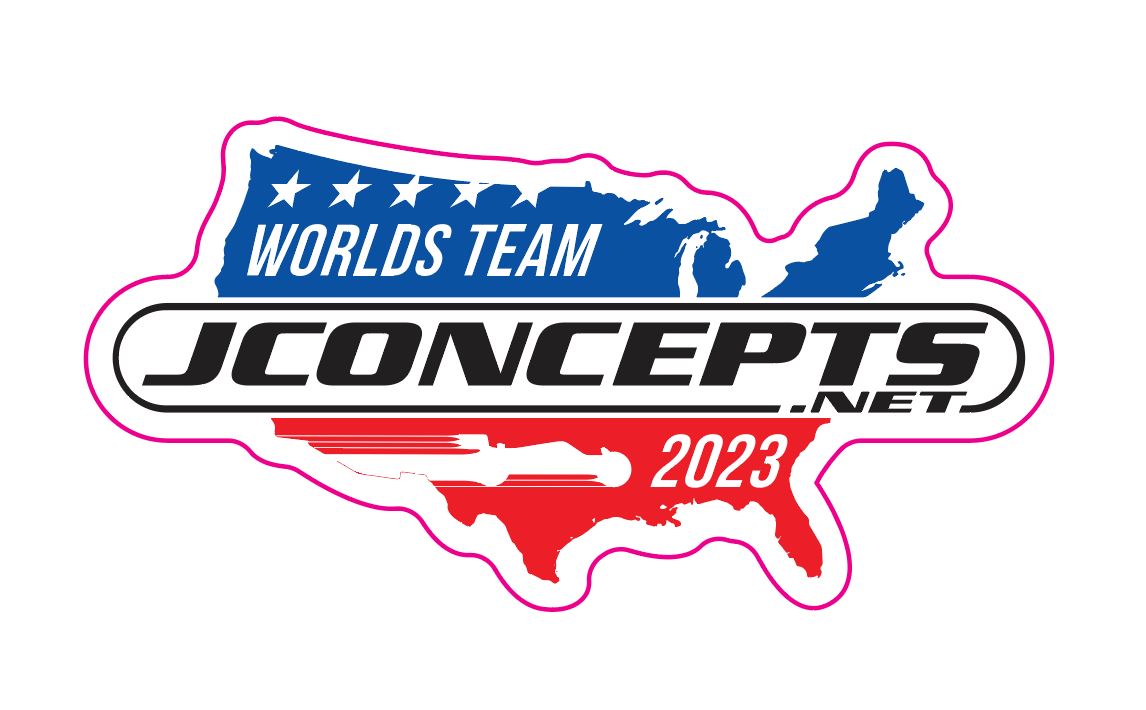
Designing custom stickers is a delightful and rewarding process, allowing you to unleash your creativity and share your art with the world. Whether you’re a seasoned designer or just starting with sticker-making, the ability to create professional-looking stickers with precise cut lines is a skill worth mastering. Luckily, with Adobe Illustrator as your creative ally, you can elevate your sticker game to new heights. In this blog post, we’ll walk you through a step-by-step process on how to add cut lines, create sticker outlines, and design die-cut lines like a pro using Adobe Illustrator. Let’s get started and bring your sticker ideas to life!
How to Add Cut Lines in Illustrator
Cut lines play a crucial role in ensuring that your stickers are accurately cut by the printer. Follow these simple steps to add cut lines to your sticker designs in Illustrator:
Step 1
Open your sticker design in Adobe Illustrator.
Step 2
Utilize the Offset Tool, found in the “Object” menu, to create the outline of your sticker. Be sure to infuse your design with creativity and uniqueness!
Step 3
With the sticker artwork selected, navigate to Object > Path > Offset Path.
Step 4
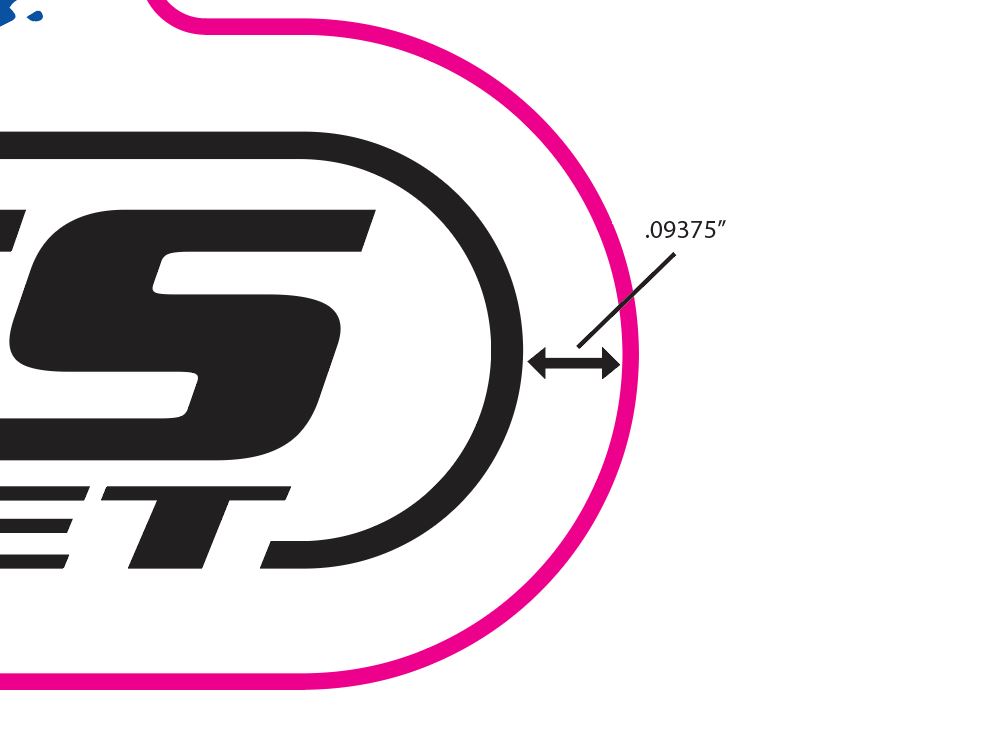
Enter the desired offset value to determine the distance between the sticker’s edge and the cut line. Most stickers need a 3/32″ (.09375″) safety zone to ensure consistent cuts.
Step 5
Preview the offset path and adjust it if needed to achieve the perfect outline size.
Step 6
Once you’re satisfied with the offset, click “OK.”
Step 7
Select a color for the outline that complements your sticker design and makes it stand out.
Step 8
Save your file, ensuring the “Offset Path” layer is visible and aligned correctly with the artwork.
By using the Offset Tool, you can create precise sticker outlines with ease, adding depth and dimension to your designs effortlessly. Now, your stickers will boast a professional touch, ready to captivate anyone who lays eyes on them.
Tips for Perfecting Cut Lines
- Experiment with different colors for cut lines to match your sticker’s aesthetics, but avoid colors too similar to the artwork to prevent confusion.
- Double-check the alignment of cut lines with your sticker design to ensure a seamless final product.
- Keep an eye on the size of your cut lines, making them neither too thick nor too thin for optimal cutting precision.
Conclusion
Congratulations! You’ve unlocked the power of creating cut lines in Illustrator, an essential skill for any sticker designer. With this newfound knowledge, you can confidently bring your unique sticker ideas to life, crafting professional designs that are ready to be printed and shared with the world. Remember to embrace your creativity, experiment, and most importantly, have fun throughout the process. Happy sticker designing!
Ready to buy custom stickers?
Ready to buy custom stickers? Your unique designs deserve to be brought to life! Whether you’re an artist, small business owner, or simply someone looking to add a personal touch to your belongings, we’ve got you covered. We offer a wide range of high-quality sticker products that cater to your every need. From vibrant die-cut stickers to sleek vinyl decals, our selection ensures you’ll find the perfect match for your design. So, don’t wait any longer—select your desired product, upload your new masterpiece, and let us handle the rest. Get started on transforming your imagination into eye-catching stickers today!